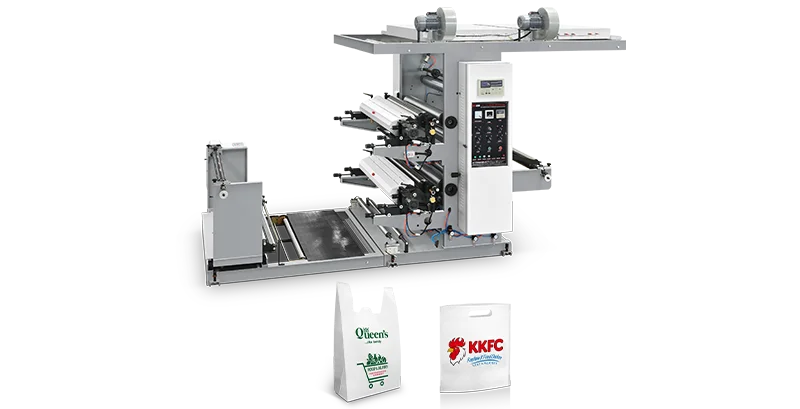
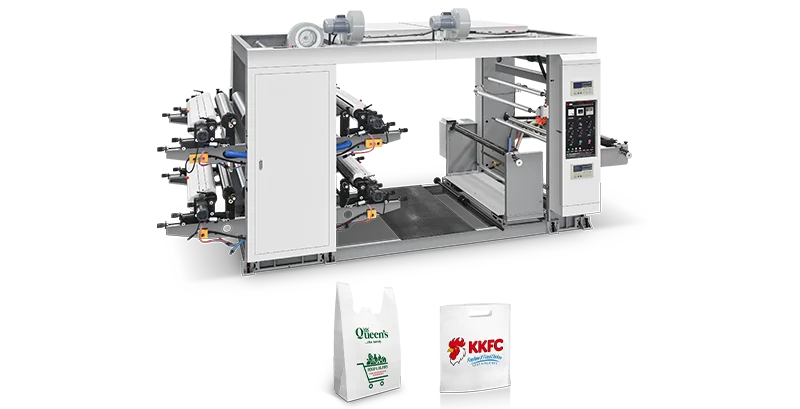
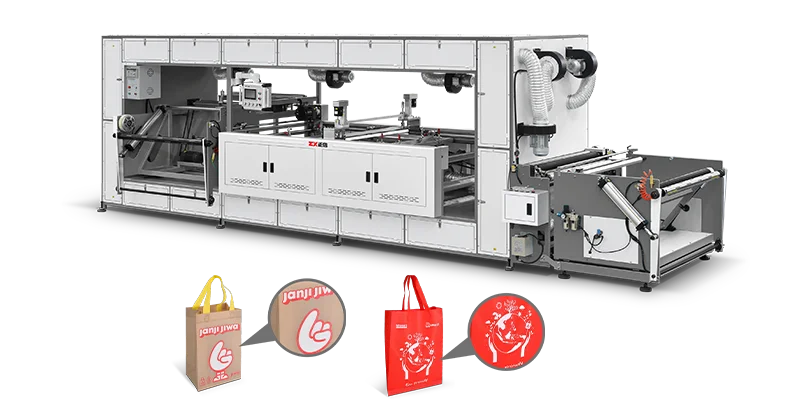
You've got an order to fill. The nonwoven printing machine is running. But when you check the first few bags coming off the line, the prints look off—fuzzy text, bleeding edges, details that should be sharp but aren't. Blurry prints on nonwoven fabric are frustrating, costly, and surprisingly common. The question is: what's causing it, and how do you fix it?
Nonwoven fabrics present unique printing challenges that you don't encounter with paper or film. The randomly interwoven fiber structure creates low surface flatness, which directly affects pattern clarity. Add to that the material's strong ink absorption and tendency to stretch under tension, and you've got a substrate that demands precision at every stage of the process.
If your nonwoven printing machine is producing blurry or smudged prints, the problem usually falls into one of a few categories. Here's how to diagnose and fix each one.
Why Blurry Prints Happen on Nonwoven Fabrics
Before you start adjusting knobs and changing settings, it helps to understand what you're dealing with. Nonwoven materials are fundamentally different from paper or film. They're porous, they absorb ink quickly, and they can deform under tension. A setting that works perfectly for one roll of nonwoven fabric might produce blurry results on the next roll if the material weight or fiber composition varies.
Most problems with blurry prints on nonwoven printing equipment trace back to three major areas: equipment settings, material characteristics, and environmental conditions.
Anilox Roller Selection: Too Much Ink, Too Little Control
The anilox roller is the component that meters ink onto the printing plate. If you're using the wrong anilox roller for your application, blurry prints are almost inevitable.
The problem:
A too-low line count on the anilox roller delivers excessive ink to the substrate. Nonwoven fabrics are already highly absorbent; add too much ink, and it spreads beyond the intended design area, bleeding into the fibers and creating fuzzy edges. This is especially noticeable on fine text, barcodes, or detailed logos where sharp edges matter.
The fix:
Match the anilox roller to your pattern requirements. For solid color areas, a lower line count (around 150 LPI) works well. For fine text and detailed graphics, you need a higher line count—300 LPI or more—to control ink transfer. Also check for anilox roller wear; a worn roller won't transfer ink evenly, and the only fix is replacement.
Regular anilox cleaning is equally important. The fibrous nature of nonwoven materials generates dust and contaminants that can clog anilox cells, preventing proper ink transfer and causing uneven, blurry prints.
Printing Pressure: Too Much Squeeze Spreads the Ink
Printing pressure is one of the most common culprits behind blurry prints on any nonwoven printing machine. And it's one of the easiest to fix.
The problem:
When printing pressure is too high, the plate makes overly tight contact with the substrate. The ink gets squeezed and spreads beyond where it should be. The result? Edges that should be crisp become fuzzy. Fine details blur together.
The fix:
Gradually reduce the printing pressure until the plate makes only slight contact with the substrate. A recommended starting range is 0.1 to 0.3 MPa. The goal is enough pressure to transfer ink cleanly—but no more. Run a test print after each adjustment and check the results before making further changes.
This is particularly important with soft, lightweight nonwoven materials. These substrates deform more easily under pressure, so what works for a heavier nonwoven fabric may be too aggressive for a lighter one.
Ink Viscosity: The Goldilocks Problem
Ink that's too thin or too thick will both cause problems. But for blurry prints, thin ink is usually the culprit.
The problem:
Nonwoven fabrics are highly absorbent. When ink viscosity is too low, the ink penetrates too deeply into the fiber structure before it has a chance to set. The result is ink bleeding—the printed image spreads out, edges become fuzzy, and fine details are lost. In extreme cases, the ink can strike through to the backup roller.
The fix:
Use a viscosity cup (such as a Zahn #4) to measure and adjust ink viscosity to the recommended range—typically 30 to 40 seconds at 25°C. If the ink is too thin, add thickener gradually. If it's too thick, add the appropriate solvent or water according to the ink manufacturer's specifications.
Water-based inks are common in nonwoven printing due to their low VOC emissions and environmental benefits. But they require particular attention to viscosity control because they're more sensitive to temperature and humidity changes than solvent-based inks.
Substrate Tension and Web Control
Nonwoven fabrics are soft and highly ductile. If tension isn't controlled properly, the material can stretch, wrinkle, or shift during printing.
The problem:
When the web shifts during printing, images become misaligned or uneven. Wrinkles cause uneven ink transfer—some areas get too much ink, others too little. And when the material stretches, registration between colors drifts, making multi-color prints look blurry or misaligned.
The fix:
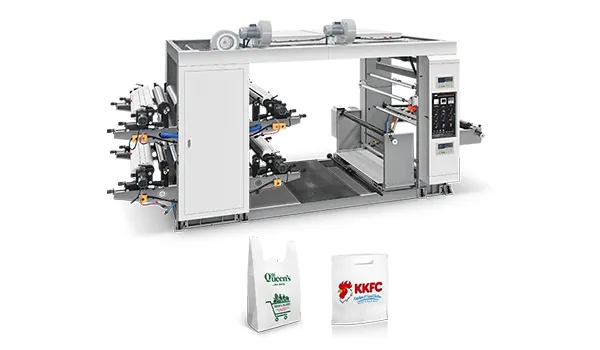
Adjust the tension to keep the substrate sufficiently taut without over-stretching it. Stack-type flexo printing machines offer segmented tension control, which lets you fine-tune tension at different points in the press. This is especially valuable for nonwoven printing because different materials—and even different rolls of the same material—can require slightly different tension settings.
Also check roller alignment. Misaligned rollers or guide systems are a common cause of blurry or shifted prints.
Substrate Pretreatment: Don't Skip This Step
Nonwoven polypropylene fabrics have naturally low surface energy—typically 29 to 31 dyn/cm. That's too low for most inks to adhere properly.
The problem:
Without proper pretreatment, ink sits on the surface rather than bonding with the material. But the opposite problem—over-absorption—can also cause blurry prints if the fabric isn't properly conditioned. Excess moisture in nonwoven fabric (above 8%) causes ink blooming and weak adhesion.
The fix:
Condition nonwoven substrates at 20–25°C and 45–65% relative humidity for 2 to 4 hours before printing. For surface energy issues, corona treatment is the standard solution—maintain treatment above 38 dyn/cm, and for demanding applications target 40–42 dyn/cm. Applying a pre-coating or pre-treatment solution can also enhance ink absorption and promote better adhesion.
Fabric cleaning is equally important. Nonwoven fabrics need to be thoroughly cleaned before printing to remove dirt, dust, or impurities that interfere with ink adhesion.
Daily Maintenance: Preventing Blurry Prints Before They Start
The best troubleshooting is the kind you never have to do. A well-maintained nonwoven printing machine produces consistently sharp prints. A neglected one produces problems.
What to check daily:
Clean the rollers, guide rollers, and drive components after each shift to remove dust, ink residue, and fiber buildup. Nonwoven materials shed fibers, and those fibers accumulate on rollers and anilox rolls. Left unchecked, they cause dirty prints, clogged anilox cells, and uneven ink transfer.
Use a soft brush or cloth to wipe away dust and fibers, paying special attention to the rollers, cutting blades, and feeding area. Replace rollers if you see cracks or significant wear.
What to check regularly:
Inspect anilox rollers for wear and clean them thoroughly. Check printing plates for damage or dried ink buildup. Verify that all rollers and guide systems are properly aligned. And keep the workshop environment stable—temperature around 22–25°C and humidity at 50–60%.
Summary
Blurry prints on a nonwoven printing machine are rarely caused by a single factor. More often, it's a combination of issues—an anilox roller with the wrong line count, pressure that's a little too high, ink viscosity that's drifted, and a substrate that hasn't been properly conditioned. The good news is that each of these problems has a straightforward fix.
What to take away:
Match your anilox roller to your pattern requirements—higher line count for fine details, lower for solid colors.Keep printing pressure just high enough for clean transfer—0.1 to 0.3 MPa is a good starting range.Monitor ink viscosity daily and adjust as needed—thin ink bleeds, thick ink blocks.Control substrate tension to prevent stretching, wrinkling, and web shift.Pretreat nonwoven fabrics with corona treatment or pre-coating for proper ink adhesion.Clean rollers and anilox rolls after every shift—fiber buildup is your enemy.
Still Getting Blurry Prints from Your Nonwoven Printing Machine?
If you've worked through these troubleshooting steps and your nonwoven printing machine is still producing blurry results, it might be time for a closer look at your equipment configuration. Contact our team to discuss your specific setup, substrate types, and print quality requirements—we'll help you get to the bottom of it.